Felted Wool Quilters Mat


Hi everyone. As you all know I have crossed the path to quilting and I love  it. I am sure some of you are quilters or know quilters. One item that is suggested for quilting is a felted mat to press your quilting pieces on. They are quite pricey to buy.  I made my own. I used a six ounce skein of fisherman’s wool from Joanns. I know I paid about 5.50 because I always waited for a 50% coupon. Lol. 

Anyway, I used the full bed of the bulky machine, tension 8,  e- wrap cast on and knitted till I had enough left to bind off. Then I put it in the washing machine using only hot water along with some things that would make it felt faster like my work tennis shoes , tennis balls etc.  

The mat came out really nice. It is 14.5 inches by 20 inches. If you know a quilter, they would love this for a gift. If you are going to felt it, take some ravel cord or acrylic yarn and take the beginning and end and go back and forth with the cord loosely like you are lacing shoes. You don’t want the edges to felt together (If they do, no problem, just cut the felted piece. Then do that to the ends , but put several plastic shopping bags inside so it does not felt together. I did not put in a pillow case because I am getting a new washing machine tomorrow and don’t care if there are fibers left in this one. Haha  When you get done if there are fibers sticking up just take a razor you use on your legs and shave off the strands. I wanted it large so it covers the new ironing cabinet I just bought. Trim the edges to make it a true rectangle. It won’t come undone. The brown mat is a felted purse I cut apart to see if it would work for pressing and it did.

Hope you are all still knitting and making lots of nice items!


Hi Everyone,

This is not good bye. Maybe a redirection and a heads up.

I have been machine knitting since the early 80’s. Yikes, that’s a long time. It’s no
wonder my interests have changed .

With the purchase of a new sock machine and sewing machines, I want to focus on quilting and making socks and some other hobbies that I have tried.

Since I changed my knitting room to a sewing room, I just don’t have room for everything. Of course, I could buy a bigger house. Lol

This is why I am going to sell my beloved passap E6000 knitting machine. It is something that can’t be stored under a bed like the other machines and I don’t want to let it sit. It needs someone new to keep her active so she doesn’t get stiff joints.lol I am letting everything go that I have for the Passap E6000 machine. She has been well cared for and much loved as you can see in this blog.

With all my added responsibilities, new hobbies and missing Passap resources (because they will be sold with this machine), I won’t be able to answer many questions regarding the future use of it. Not to worry, I plan to keep all the Passap information on this bog available for the new owner as well as any new Passap lovers. Luckily, there are many resources just like this blog for new users to learn from. There are many Passap Facebook groups, groups.io, Ravelry, other blogs and small user groups around the different states. I hope the release of good Passap machines to new users will grow the Passap community with fresh enthusiastic spirit again.

I am keeping my Brother machines because I like to make my slipper socks on the 940 and felted slippers on the bulky. So I may post something in the future about those machines, but not sure at this time. Posting also takes time away from my new adventures.

I am still getting 40 to 100 visits a day on my blog so I will keep this blog open so the information I have posted over the last 10 years on all my machines, will be available to everyone.
I will be posting the E6000 machine on the passap io group marketplace hopefully soon.
Check this link for more information later. https://groups.io/g/PassapClub/ You will need to join the groups.io to be able to read the message boards.

Please don’t ask me any questions at this time about the machine. I am not using the WordPress blog to sell it. I will let you all know where and when to find the details of what I have for sale and the terms of sale soon. It takes awhile to get it all organized.

Thank you everyone for visiting my blog and giving me praise on my projects. It was you that
motivated me to keep on learning and machine knitting. After a few tears and deep breaths, I will try not to change my mind before I get this posted. I hope to see all sorts of new reader posts and connections with previous viewers of this blog when I get a chance to sneak a peek again. Much love to all of you. You are all my Passap family.


Hi Everyone, I posted a couple years back about a train shop near me that sells long pieces of wire to go in our cast on combs. I recently went back there and they no longer carry them. However, I did find them at Hobby Land and they have stores across the states. I bought 4- 36 inch wires for 1.60. It says KS Precision Metals, made in the usa Stock #501. Then in small print it says .032 music wire .81mm. So I googled KS metals  and these metal rods  are sold at a list of stores . You can view that list and see if there are any near you. I would call first.  I then found this wire on Amazon and it looks like 20 pieces for 20 dollars. Wrong, I read the questions asked and it is only 4 -36 inch wires for 20.00. Very misleading.

I was thrilled to find these since they were so reasonable and in straight pieces instead of a circle of wire .  By the way, two wires fit in three cast on combs. I just took a plier and bent the one end down at an angle to make a stop .  You may already know this but some might not. 🙂

Passap Afghan pattern for free by Tina


I know a woman that bought my girlfriends Passap Machine. Her name is Tina and she has a web site called Herman Hills Farm. Her son has made several passap parts that are hard to find for our machines.

Tina is really advancing in knowledge from designing in DAK to   knitting with the Passap E 6000. She is offering a free afghan pattern that is just beautiful. You can find it at Herman Hills Farm blog .  It is called Scribble Cat Blanket. If the link does not work, just type in Herman Hills Farm and click on blog that is at the top of the page. She shares the pattern and files for DAK and win/crea.


Blog


Cardigan with a Twist


cardigan with a twistIMG_20200414_233857219

I saw this sweater and design in a hand knitting magazine called Knitters Magazine. I liked the design and decided to try it on the knitting machine.  This could easily be done using the G-carriage. I just did this sample using the ribber. I had 15 stitches in my sample. Needles 1-5 starting on the left were transferred  from the main bed to the ribber and back again each row. Then I had 5 stitches on the ribber , 5 stitches on main bed. I knitted 12 rows between the twists . If you try this, end with the carriage on the right if your stitches to twist are on the left. If you don’t do this, when you twist the stitches, you will have the yarn in the wrong place to start knitting again. It happened to me so I had to hand knit the five stitches to get it back to the left edge to start knitting again.

Knitting Machines 930/940/965 Additional Data


I am still organizing all of my knitting and I came across this information. If you bought a machine used, you may not have gotten this information. Besides the programs in these machines there is additional permanent data that is not covered in Stitch world. Click on the link to get this information.

930:940:965 additional data in machine

Criss Cross Design on Knitting Machines


fullsizeoutput_9f1

I came across another design that I have not tried. This design is out of a book that a friend of mine wrote. It is called Inserts by Charlotte Richards. I knit the first sample on the left as it was written in the book. When I took a picture of it I noticed that the eyelets were staggered. Look at the top and bottom  of the design  and you will notice it. If you try this out you will find out the answer of why it comes out like this. 🙂

So I went back and knitted sample two and created the eyelet on both sides every two rows.  To me it looks even at the top and the bottom and gives this a different look. The way that I did it the second time also makes the eyelets stagger but it is kind of pretty. Also, at first while knitting it the second way I forgot which side i had transferred. Then I noticed that they staggered too so it was easy to do. You have to pay more attention doing it the second way though.

Here is what you do if you want to try it.

You are working on 8 stitches . She suggested 30 stitches and that is what my sample is.  This is done best with a 7 eye transfer tool. Push 3 needles back and lock 4 needles on the tool.

Row 1- transfer  right R 1,2,3 &4 stitches to L1 needle. R4 will be empty and leave in work position. Put R1 into hold position(don’t forget to set carriage to hold) and knit one row.

Row 2-Now push R1 back into knitting position and knit one row.

Row 3- Transfer L stitches 1-4 to R1 needle. Leave L4 in working postion.  Pull L1 needle to hold position and knit one row.

Row 4- Push L1 back to knitting position and knit one row.

Repeat these four rows till desired length. If you want to try what I did, on rows 1 & 3 I transferred the 4th stitch to the next st on the  opposite side that I transferred. So every time you make a transfer you will have R4 and L4 empty and in work position. When you start, start transferring on the right. Then if you are knitting and forget which way you transferred, if you can’t tell by looking at it, just go back to first eyelet and count.

Hope you try it. Hope you all had a very nice Easter .


Serpentine Stitch


fullsizeoutput_9ed

I am still working on organizing all of my patterns and magazines and it is taking me longer than I thought. I think the reason is because I stop to look through them again. Well, I did and I found this stitch and I have never done it in all of my years of knitting. Or, maybe I did and now that I am older I am forgetting. That’s not a bad thing  though because then a lot of my patterns will look new to me. lol

Again, it has an open design but it is fun , fast and easy to do….and I think it’s pretty. And it is not limited to only one make of knitting machine. As a matter of fact, I am sure it could be done on a sock machine too.  I will have to try it.

I cast on 29 stitches. Each serpentine is created over three stitches. So I have 5 stitches in between each of the three serpentines. After each transfer of stitches, you knit ten rows. Number the three stitches beginning with # 1 on the left. FIRST TRANSFER: To start, you transfer the stitch on needle #2 to needle #1. Then transfer the 3rd stitch onto the stitch to it’s right. So needles 2&3 will be empty and move them out of work to A position. Knit 10 rows. SECOND TRANSFER: take the stitch from needle#1 and place it on needle #3. Again, put needle 1 out of work.  Now needles 1&2 will be empty and out of work. Knit 10 rows. THIRD TRANSFER: Take the stitch from needle #3 and put it on needle #1. Put the empty needle #3 out of work. Knit 10 rows. You will repeat the second and third transfers to continue.

Hope you try it. Have fun. Will see what else I find going through my “stuff” !


Hand Transferred Lace


fullsizeoutput_9e8Hi Everyone, I hope you are all staying safe with this virus out there. I hope you have found the time you have now to enjoy being with your family as well as finding time to be creative and productive.

I have been using the time to start cleaning out cupboards and the garage. As you can tell I have not been knitting. I have been contemplating leaving the machine knitting scene for a long time .

So, I put my big girl pants on (yep, gaining weight since confined to my home) I started to pack all my yarns into large plastic bins and I am now on bin 21! Ok, have to buy more bins so enough of doing that. Yesterday,  I started to get my patterns all boxed up and categorized for future reference or to sell. I printed out the page and taped it to the top of the box. While I was doing this I came across at least two patterns that make me want to knit again(yay) and I also  saw this design and thought it was pretty.  Something this simple got me up and into my knitting room to try it(and because I bought a new sponge bar) .It is so easy and just hand manipulated but can be done on any machine. It would look pretty going up a sleeve. If it is too open a design for you, you could back the design with a lining or wear over a  blouse or turtleneck.

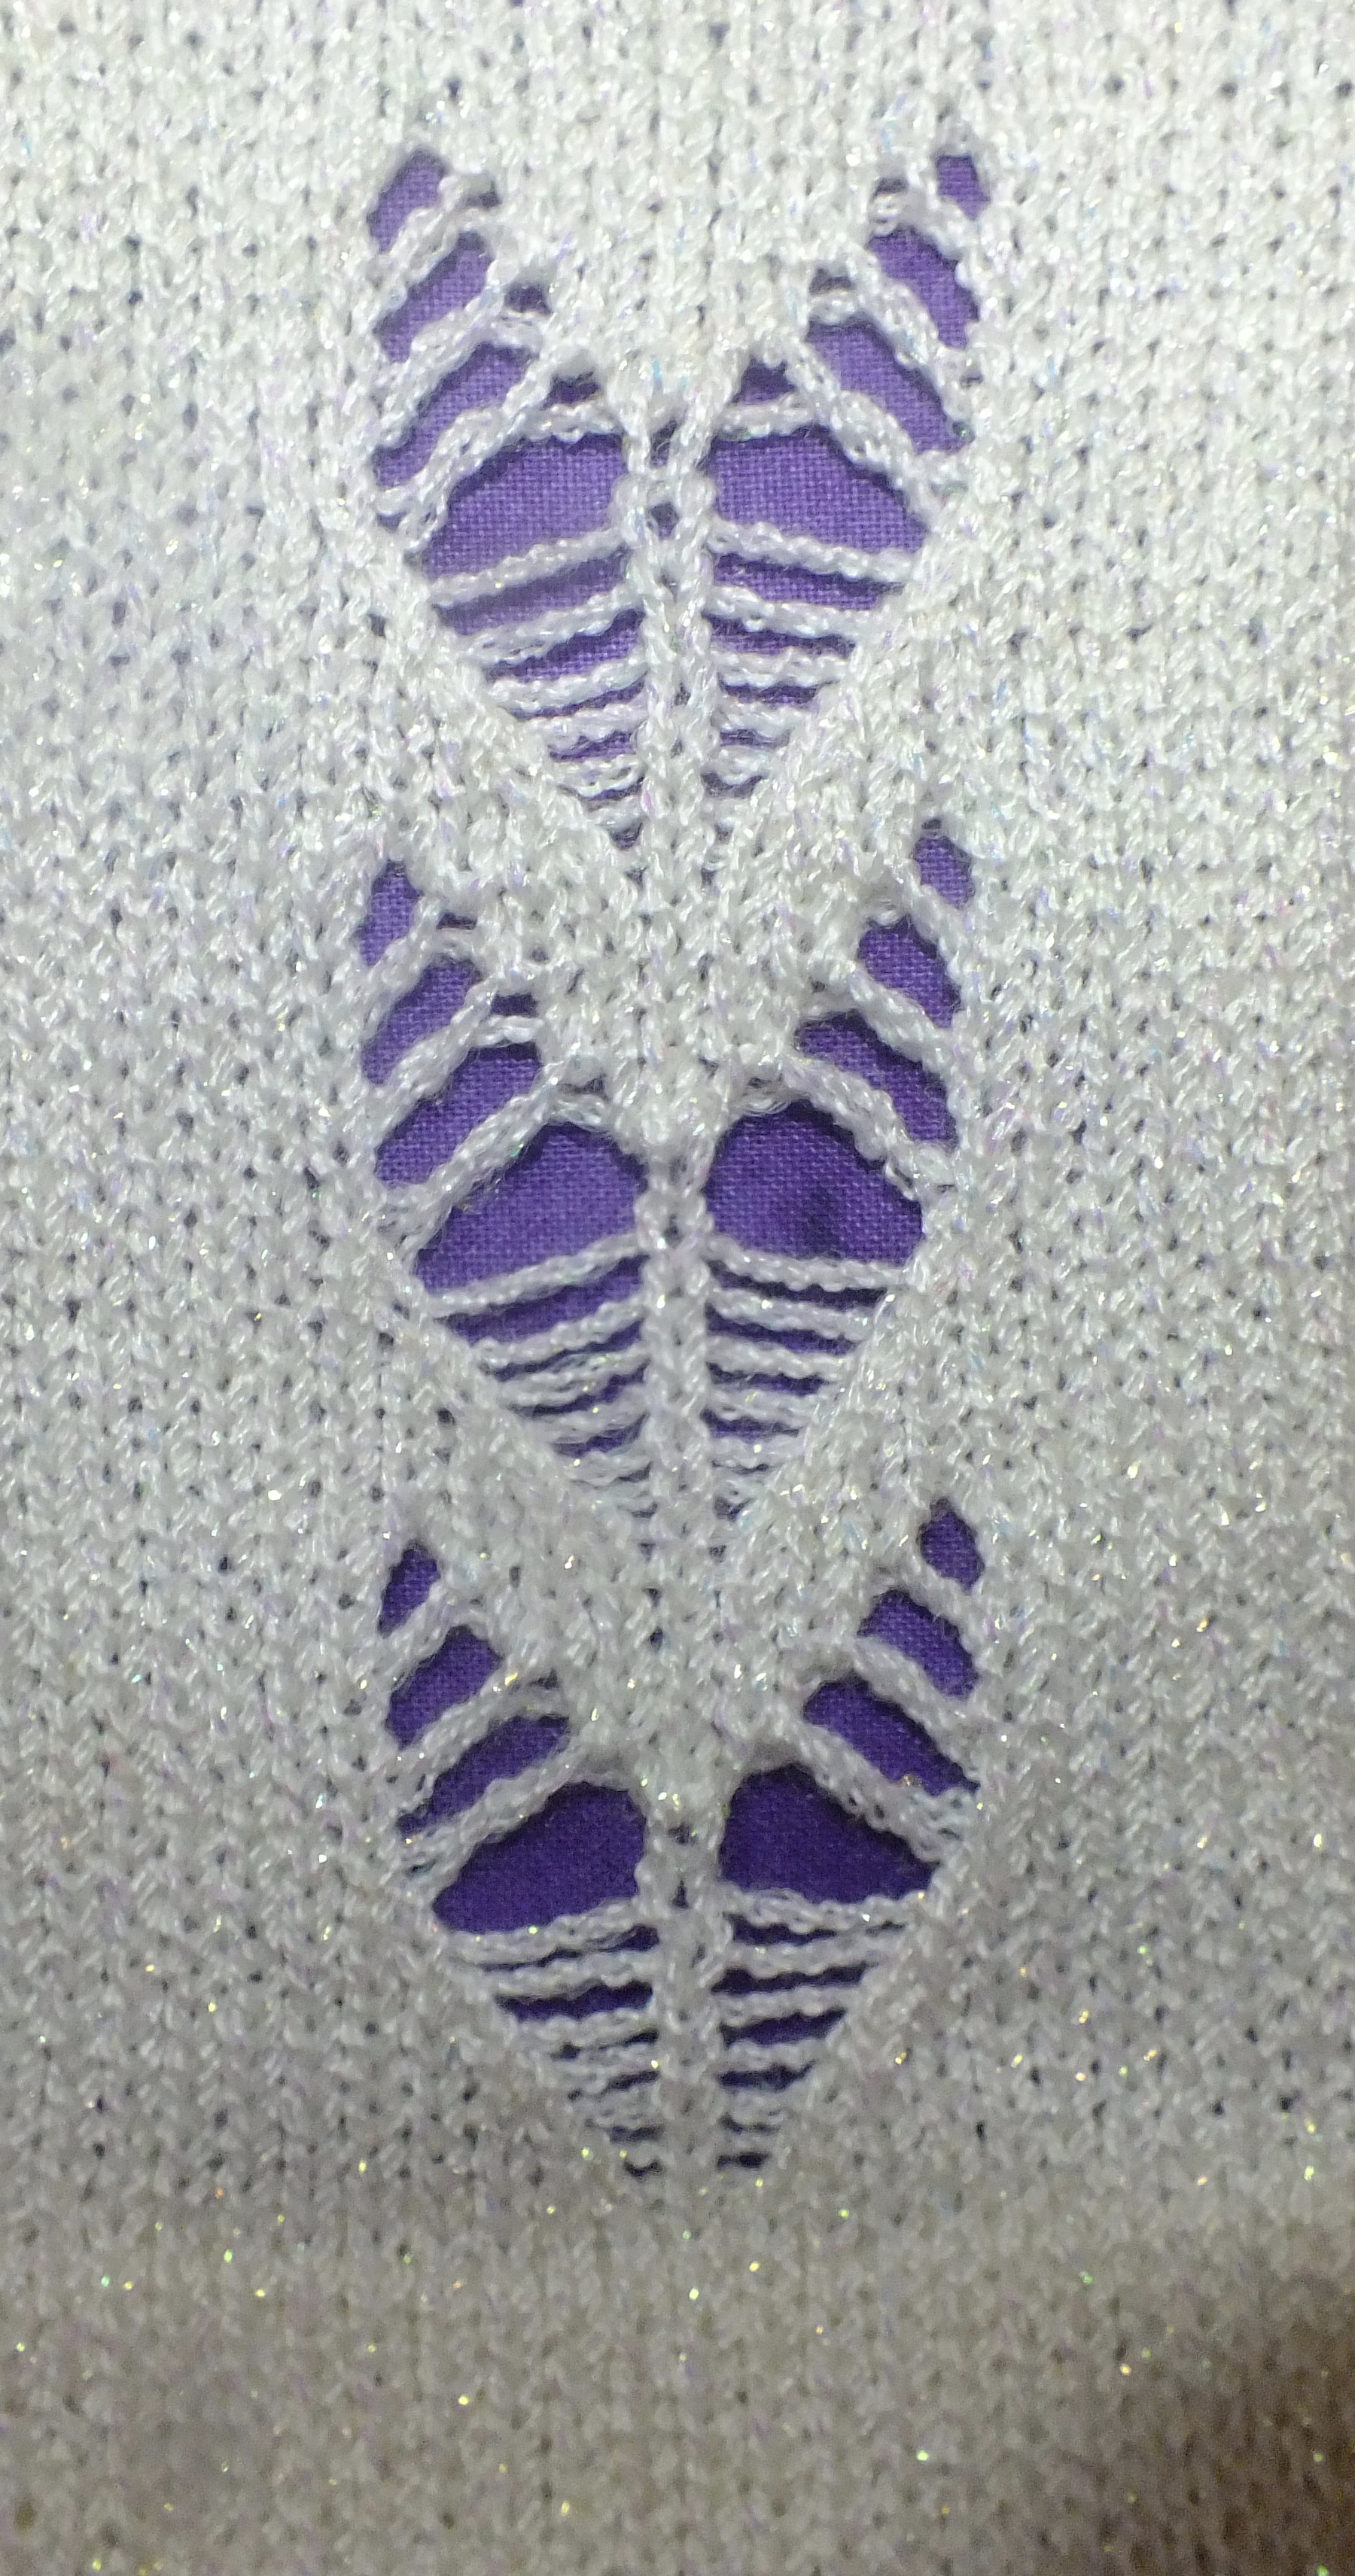
The directions are written by Karen Diesner and done on a Singer. She thinks of this as a butterfly pattern. It is in the May 1995 issue of Machine Knitting News. You are doing a lace design but instead of leaving the empty needle in work after transfer, it is moved out of work. Then half way through the pattern, you start bringing the out of work needles back into work on either side of the middle one. Two rows are knitted after each transfer. There are nine needles used for the pattern. I cast on about 19 needles. The middle needle stays the same and is never transferred.

Start by transferring the needle on either side of the middle one onto the outer needle and move the empty needle out of work. Knit 2 rows. Transfer the second needle out on each side of the middle one and put empty needle out of work. Do the same for the third and fourth needles knitting two rows after the transfer. Now, when you get to the fourth transfer ,  transfer the stitch and  also bring back into work, one needle on either side of the middle one. Knit 2 rows, bring back the second needles out from the center and knit two rows. Continue until all back in work.  Just thought I would share this simple idea. Have fun, now back to cleaning out. 🙂

Passap Christmas Gnome


IMG_0518

fullsizeoutput_954

I was at a craft fair and saw a gnome made with old sweaters. I thought it was so cute. I have tons of swatches and went to work this morning to make my own.

This design was knitted in a circle on the passap  where the design is knitted on the front bed and you get a vertical stripe on the back bed.  This can be opened up and you can see all the floats inside. I was going to do a scarf this way but it was time consuming and I wasn’t sure I liked the stripe on the back for a scarf. It was probably technique 243.

Of course, you don’t have to have this type of swatch to make this little guy. Any machine tension swatch will work.

I just cut pieces for the arms and legs and sewed a tube and turned inside out. I used the front fairisle for the hat and arms and the back side of the fabric for the legs. I sewed a piece for the hat starting wider at the beginning and narrowing it down  to a point.  I turned it inside out. When I folded up the brim I have the stripe from the back side that looks like I ribbed it.

I inserted a pipe cleaner bent in half into the hat to make it so I could bend the shape. I used a styrofoam base and hot glued the red felt to the main part for the body. I hot glued the arms on next. I hot glued the legs to the bottom. I used wool roving for the beard(Thank you Tina!) and just pulled the hat down onto the top of the styrofoam pyramid.( I cut the top point off and shortened the height from the bottom because it was a tall one.) I hot glued the nose on that is just a stuffed piece of stocking.  I added the wreath because it gives stability for sitting.

So what I would do if I make it again? I would use up the  cardboard knitting cones that I have stacked in a corner. lol   It would have been easier. All you would have to do is stuff the ends of the leg up into the tube and hot glue and it will sit nicely. You won’t have bulk on the bottom. I just used felt for the hands and feet and just guessed at the shape. If you don’t have felt for his body, use another tension swatch instead.

So you have plenty of time to do this ladies. Get out your tension swatches that I KNOW all of you make. 🙂

« Older entries